Headliner Replacement
Three decades were not nice to the headliner in the Z. It fell down many years ago when the car still belonged to my dad. He cut the excess off and left part of the fiberglass board exposed. Since I was already tearing apart the interior while installing coilovers I figured it would be a good time to tackle this project as well.
Removing the Headliner
Ideally you will do this when the hatch interior has already been taken out as there may be some interference with sections of the trim back there. For a short guide on how to do that please refer to my coilover installation guide. A few additional pieces must be removed to get the headliner out of the car though.
Assuming the hatch as already been disassembled do the following:
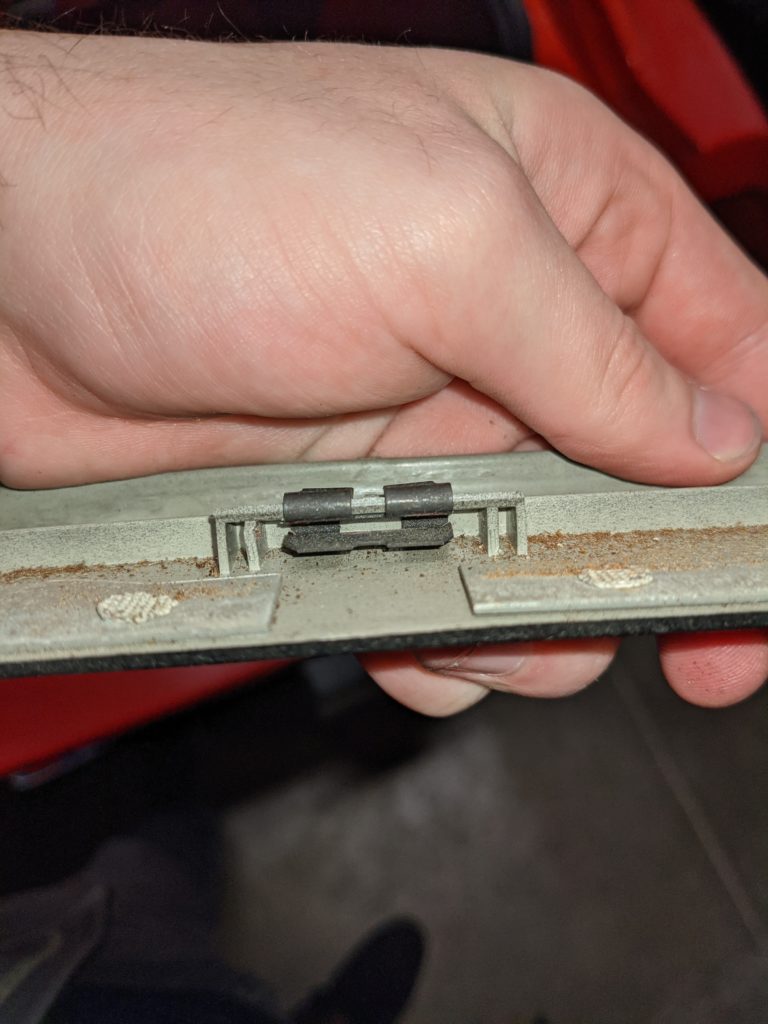
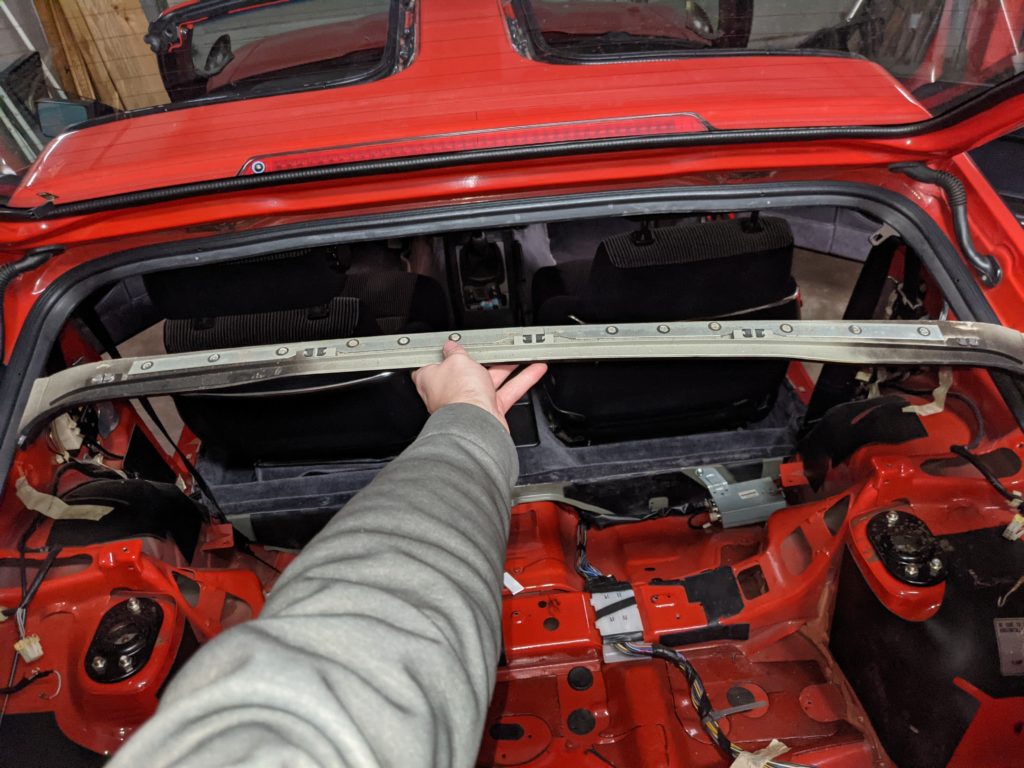
- Remove the Trim at the rearmost portion of the headliner. All that must be done is to pull it directly backwards towards the hatch.
- This thing has some pretty serious metal clips embedded in the plastic so it will take some force. Don’t be afraid but also avoid using sharp metal tools.
- Remove the mirror and its mounting plate.
- Remove both sun visors and their associated clips near the center of the car.
- Remove the climate control temperature sensor near the front of the car by pulling directly down on the plastic piece.
- There should be a small fan assembly here. I removed mine a few years ago since the assembly went bad. Unplug and remove the assembly.
- Remove the cabin light by taking the plastic cover off and unscrewing and unplugging the assembly.
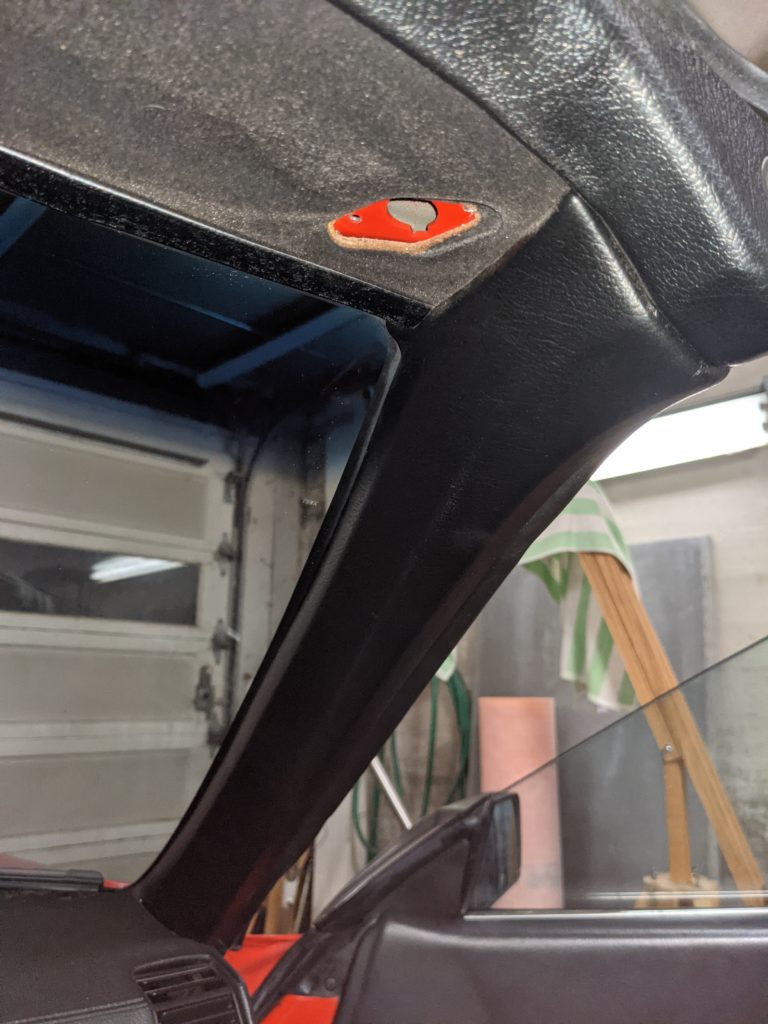
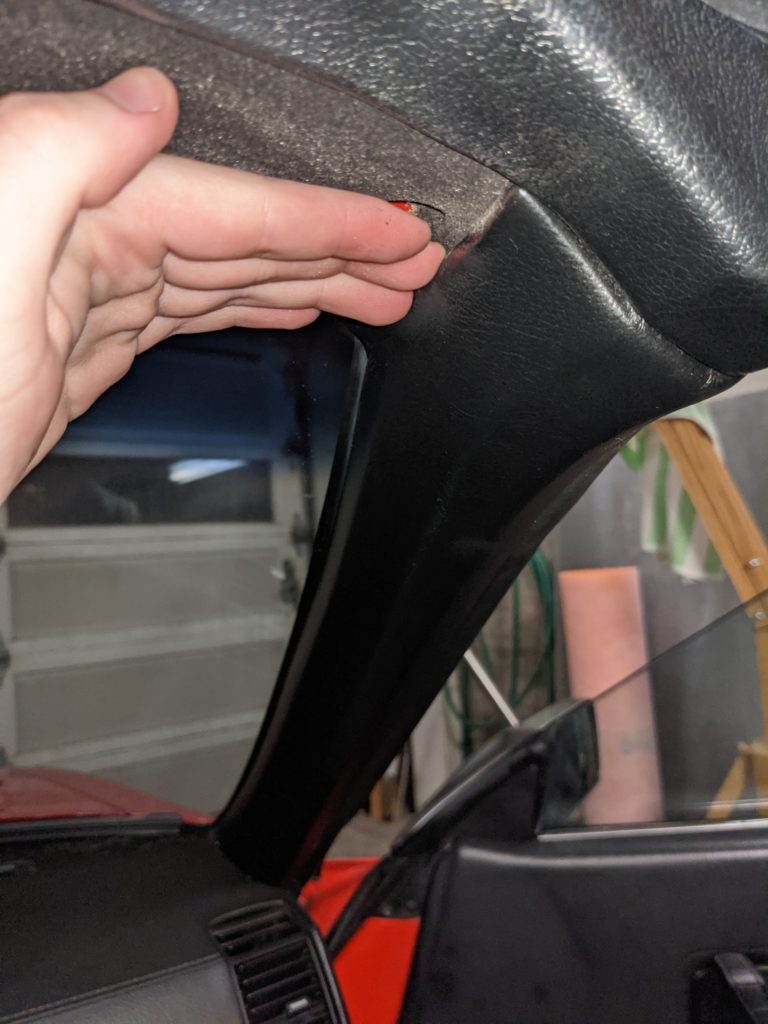
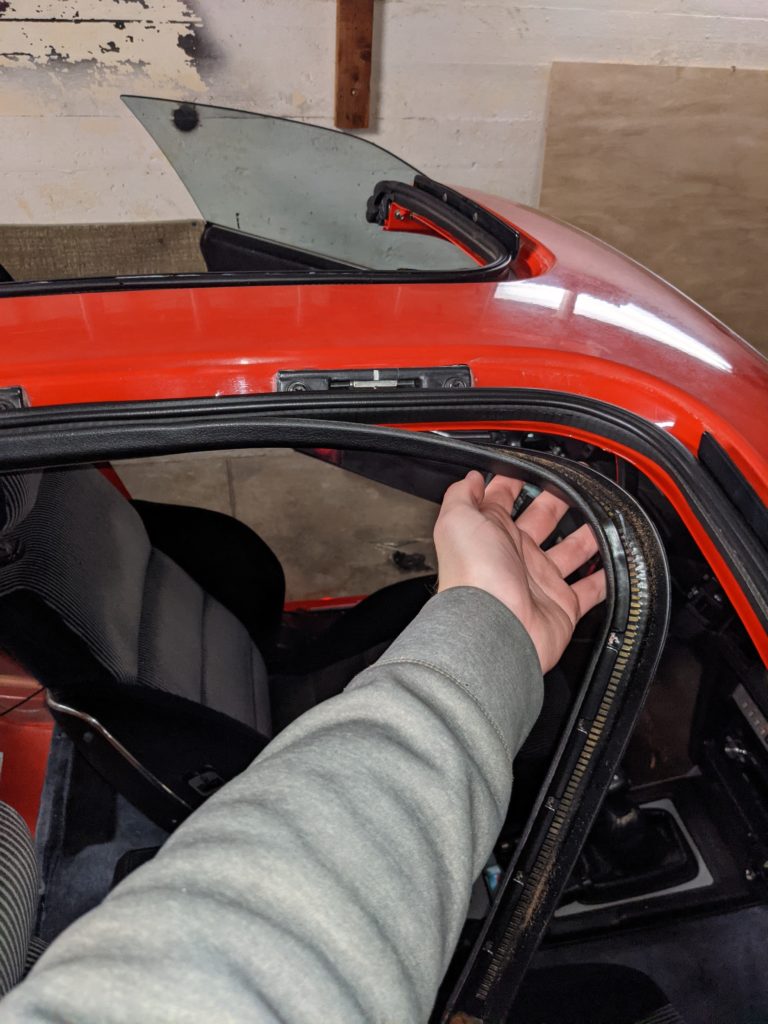
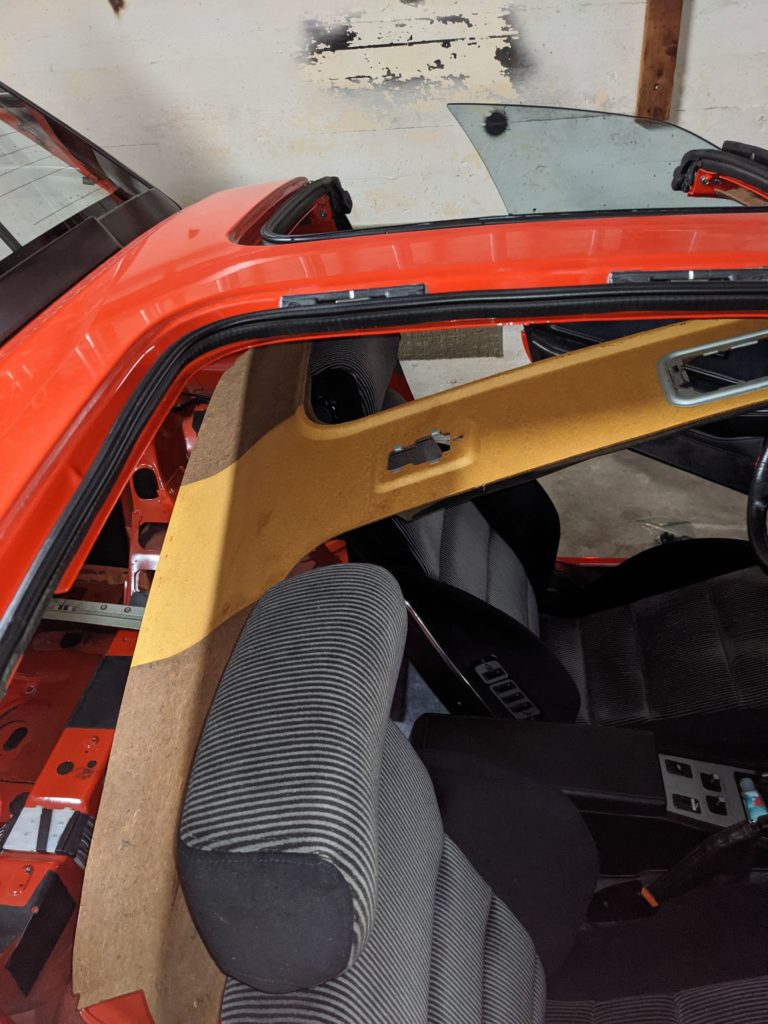
- Remove both A pillar trim pieces by grabbing the top of the trim and pulling towards the center of the car. This will take some effort.
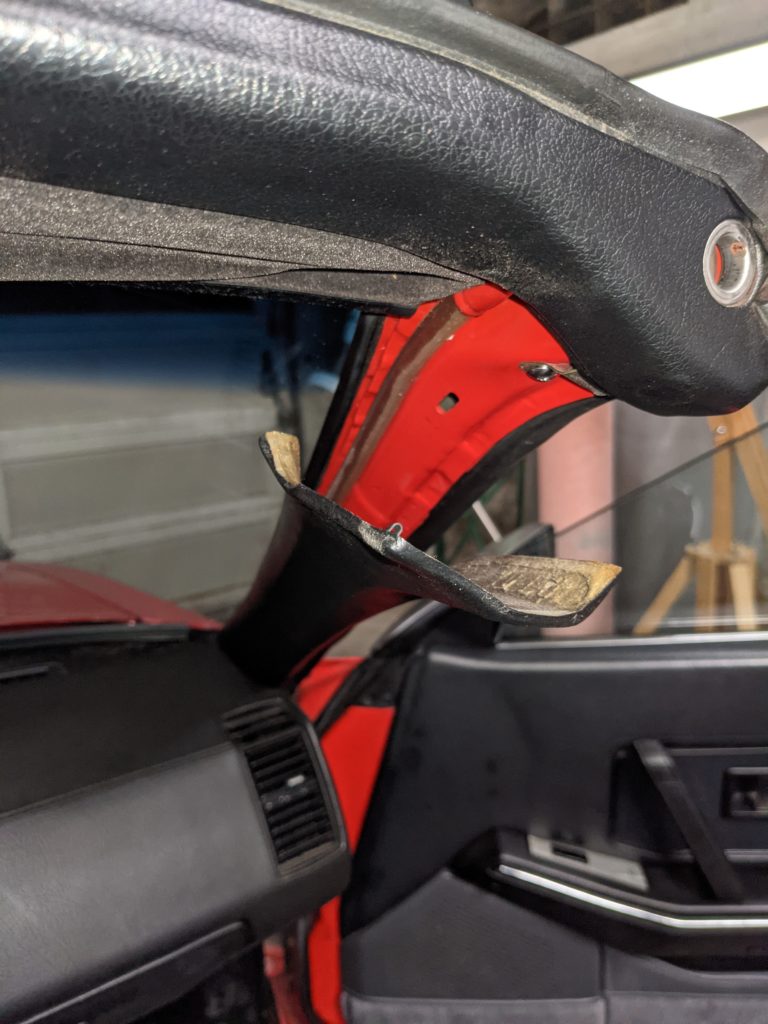
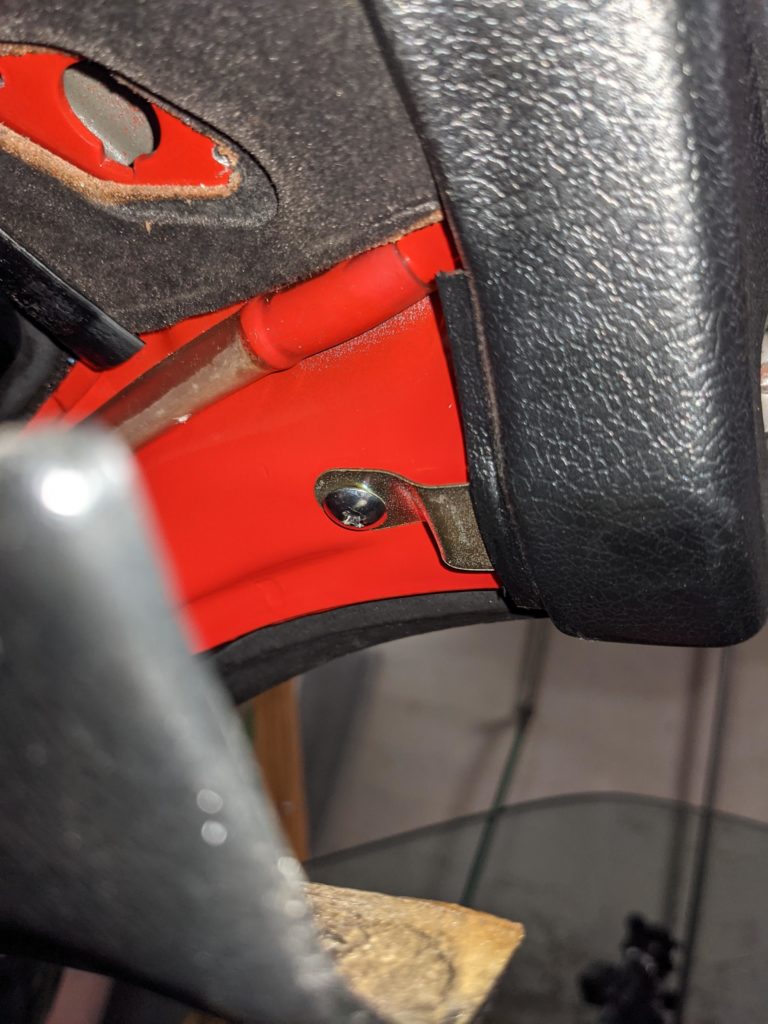
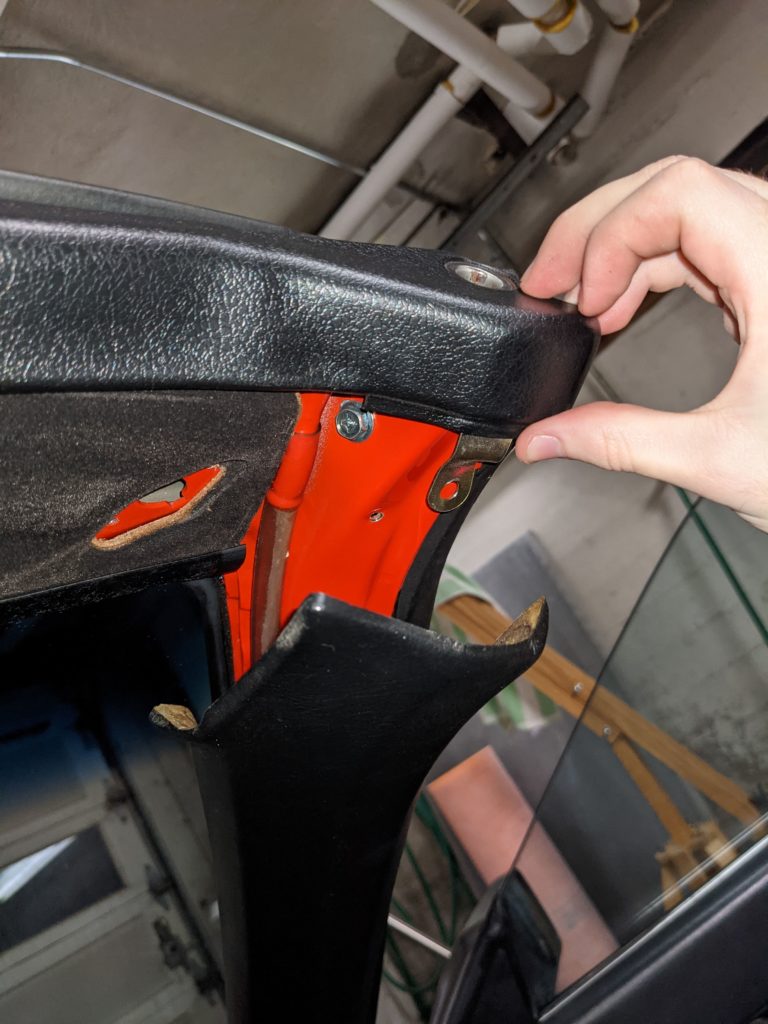
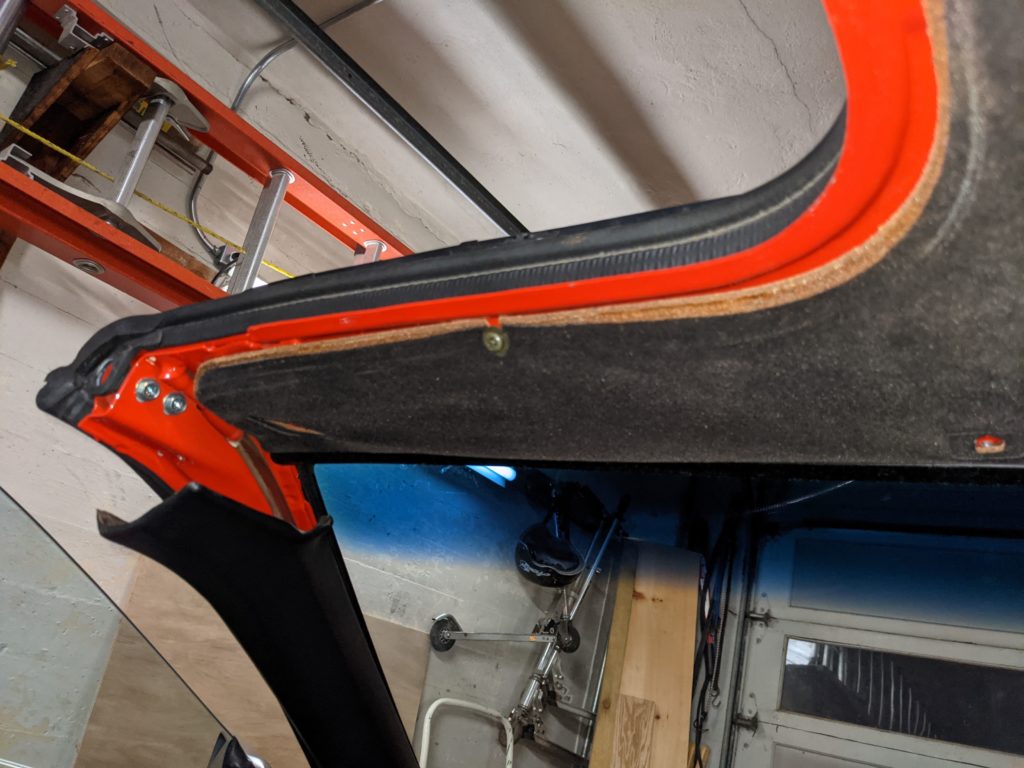
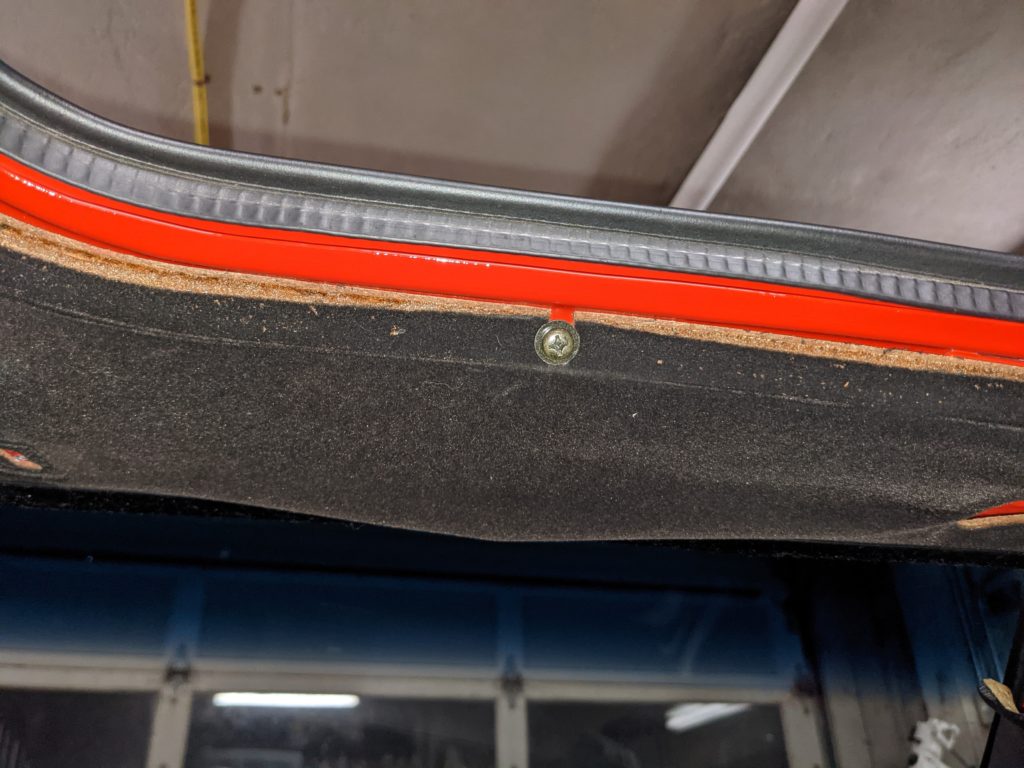
- Remove the screw holding the T top trim in place.
- Remove the T top trim by pulling directly away from the body of the car. This trim should come off easily.
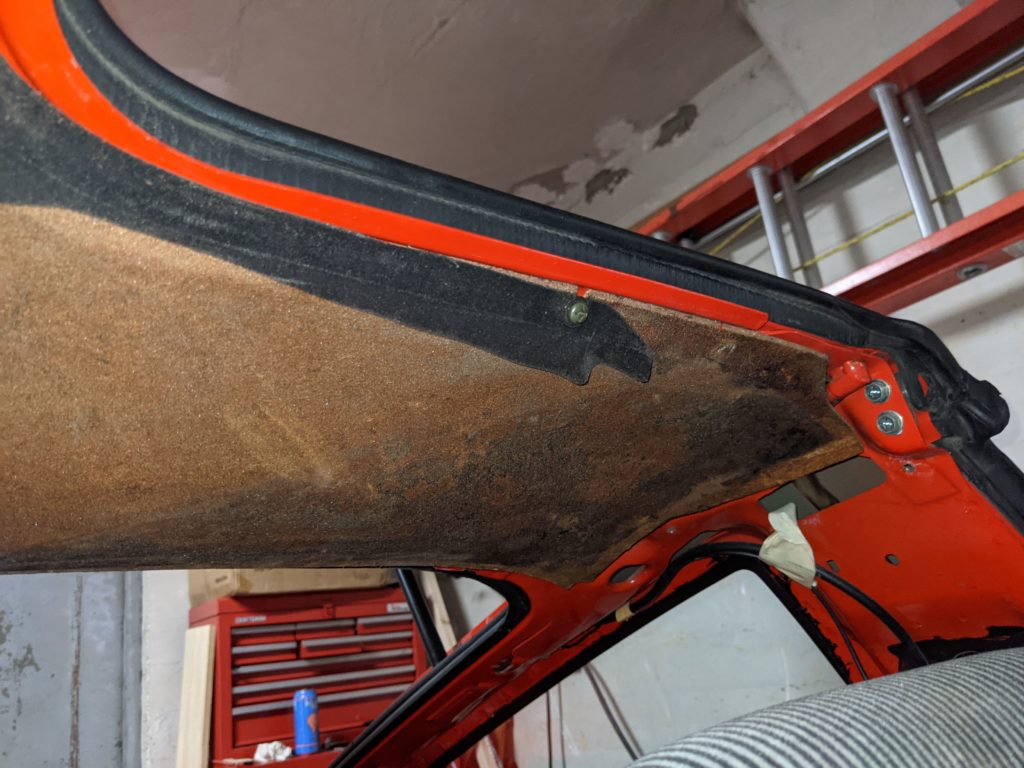
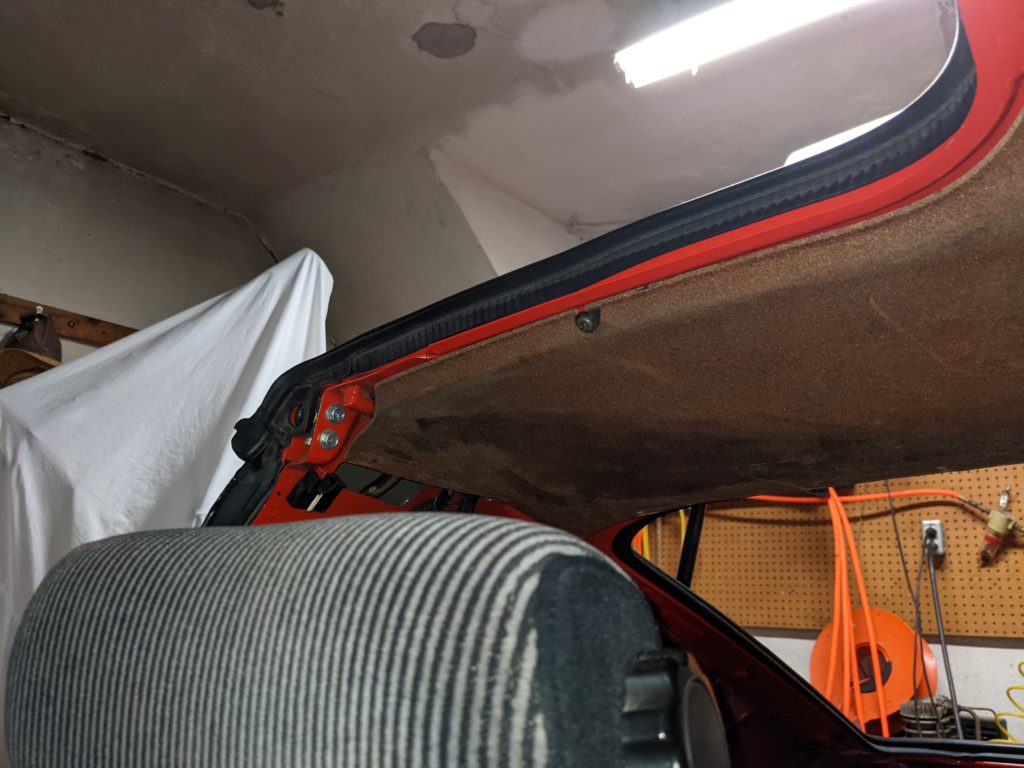
- Four additional screws are used to hold the headliner backing board in place. Remove those and the headliner should fall out.
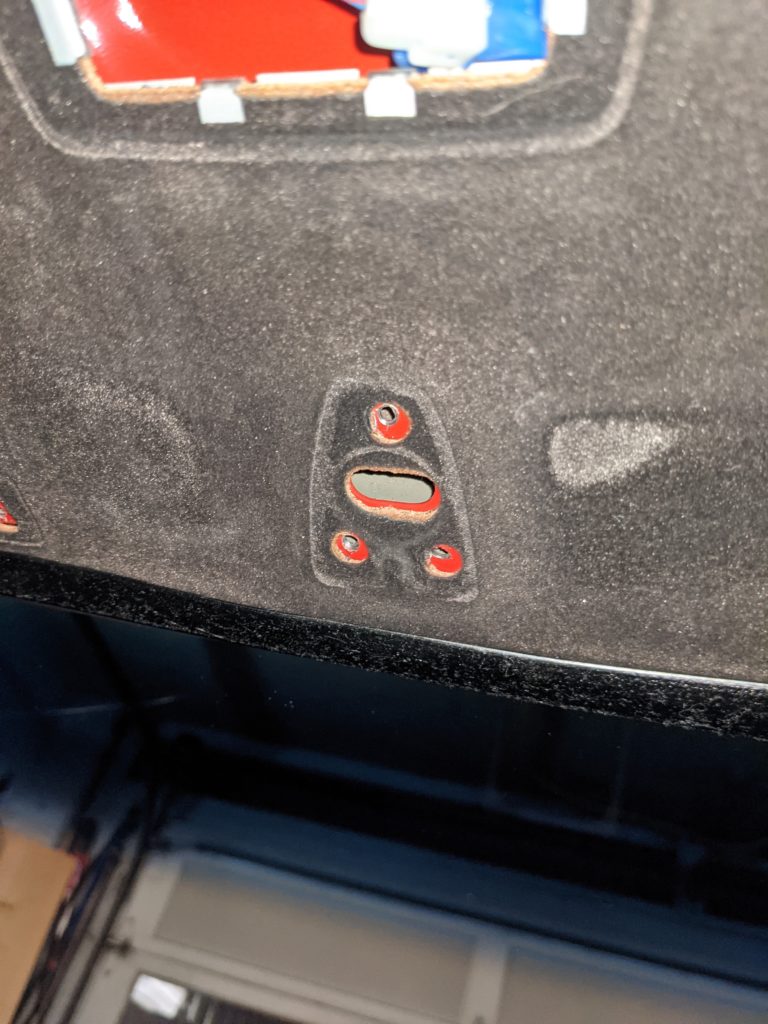
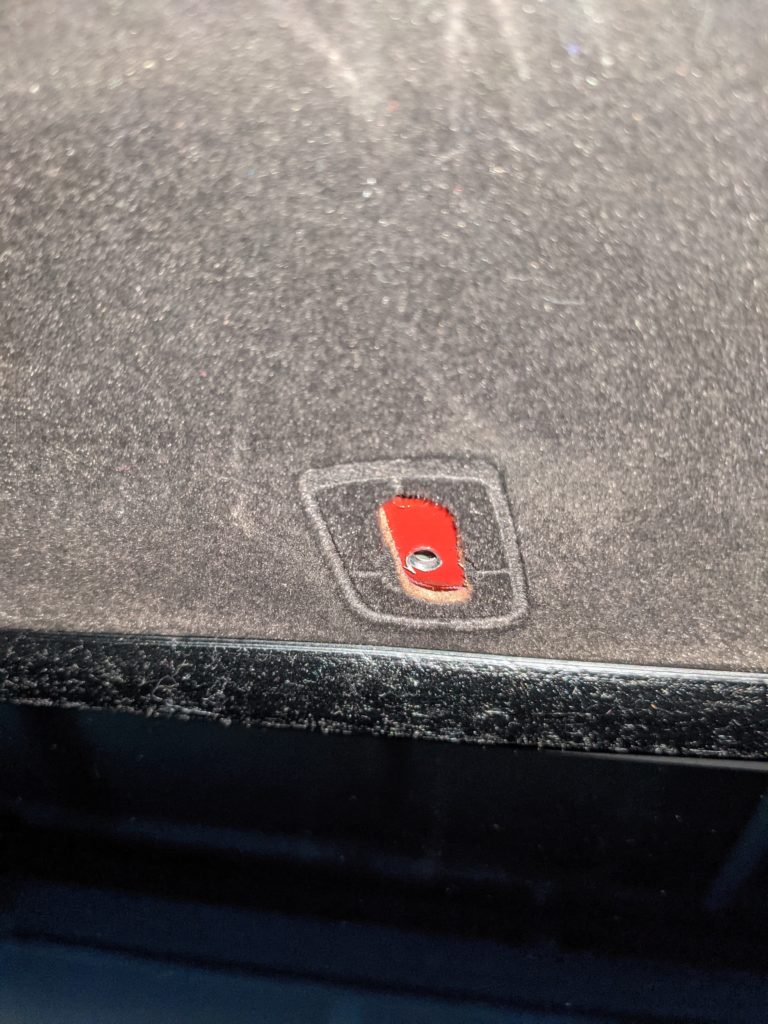
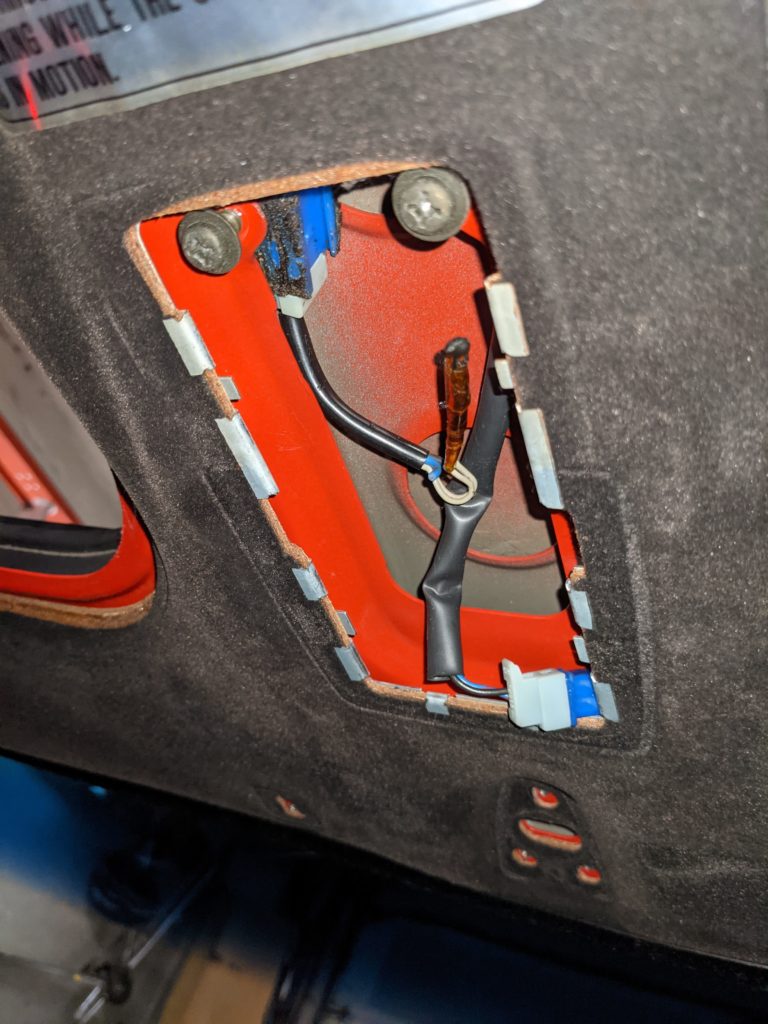
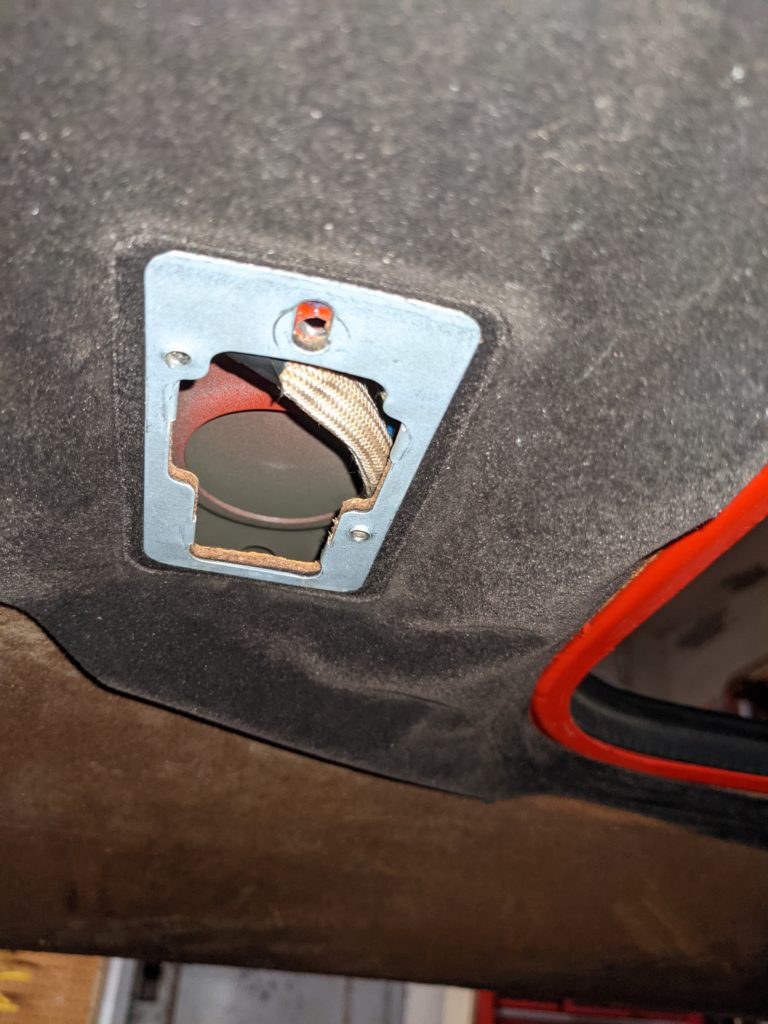
If you are not sure where some parts are located please refer to the images on the right.
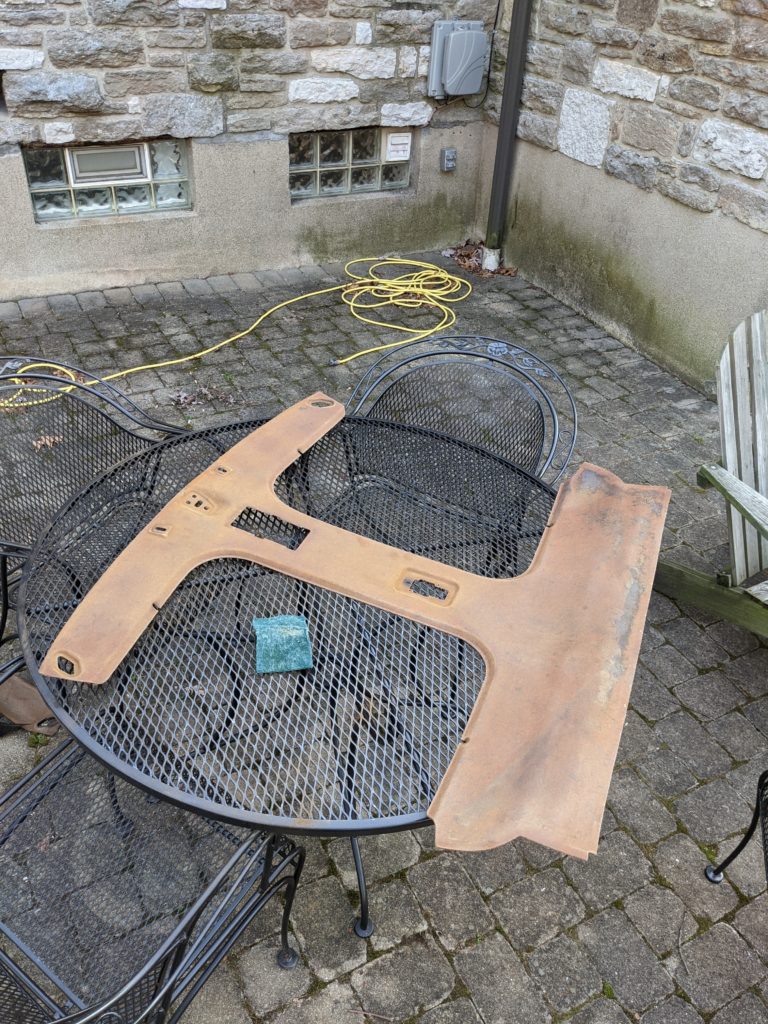
Congratulations! You can now pull the headliner backwards out of the hatch. Be careful not to bend the fiberglass board too much as it could crack. Now you need to clean up the board and select your new headliner material.
Cleaning it Up
With the old headliner out of the car, I suggest you take it somewhere outside because it’s going to be very dusty.
Theoretically you can use whatever fabric you want but most OEM headliners have a foam backing. I purchased some foam-backed headliner material from a Joann Fabrics nearby. A yard or two should do the trick, be sure to measure how much you need before going in to the store. If you want to get creative with your fabric pattern I would suggest gluing this material to the fiberglass board first and then gluing your regular fabric on top.
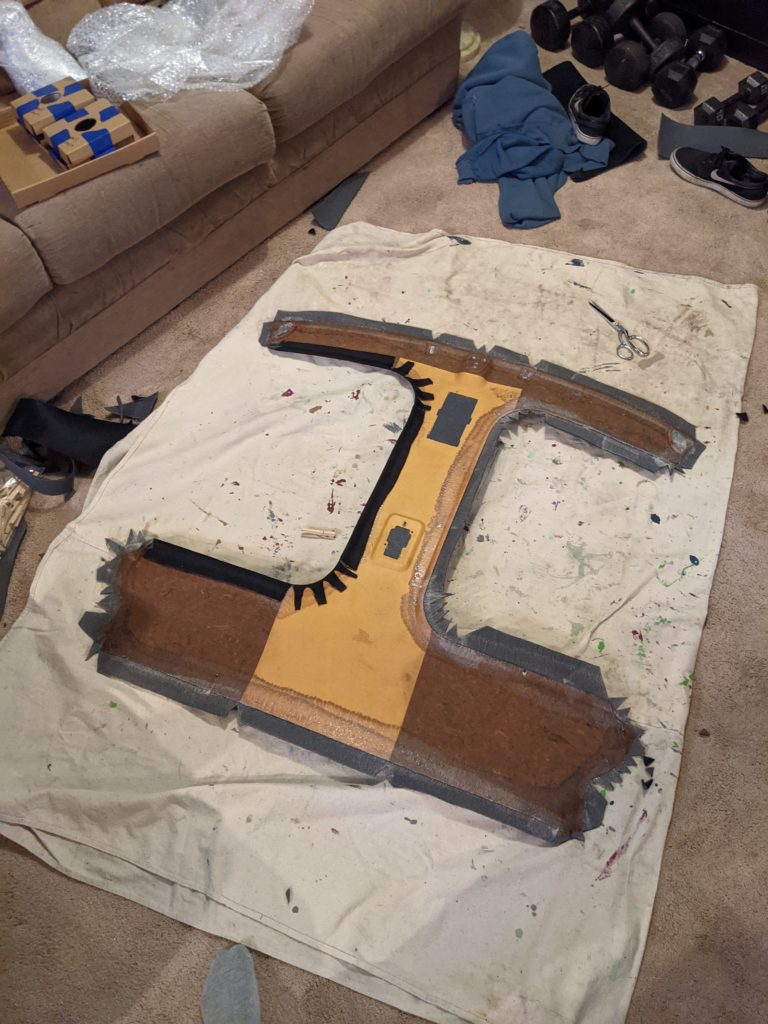
The steps here are pretty basic. First use a flathead screwdriver to bend the tabs of the metal bits of the way. You will want to save these since they will prevent your fabric from being torn by the AC thermocouple and dome light assemblies.
With the metal plates removed, tear the old fabric off. Say goodbye to the retro warning stickers, it was nice knowing them. With the fabric gone you MUST remove all the old crusty foam still stuck to the board. If you do not do this your new fabric will fall down quickly. I used some Scotch-Brite scouring pads to scuff up things up and remove all the old material.
Once everything is cleaned up, lay the board somewhere flat and spray it with some headliner adhesive. Be sure to follow the instructions on the can as you usually must apply a few coats to both the board and fabric and wait for a minute so that things are tacky. When applying the fabric to the board ensure that it is taught and make sure to press it in to the divots around the mirror and sun visor mounting points.
With the fabric tacked on to the board. Flip everything over and trim off the excess. Leave an inch or two around the perimeter as you will want to fold the fabric around the back side of the board and tack it down with some additional headliner adhesive. This will ensure that the corners do not lift over time. I encourage you to do this for the AC thermocouple and dome light holes as well. Once the fabric is tacked in place you can put the metal plates back in.
Once the glue has dried most of the way, cut slits for all the screw holes. This will help you locate the screws when putting the headliner back in.

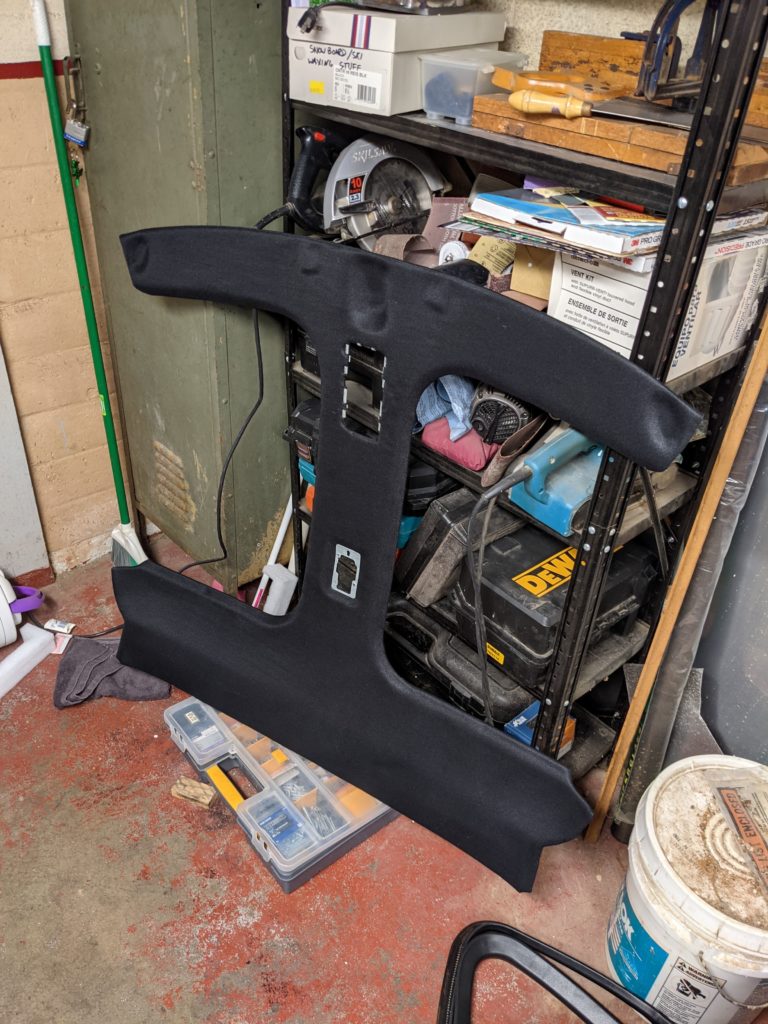
Installation is the reverse of removal! Have fun doing this, it is horribly frustrating lining everything up when you can’t see the screw holes 🙂